Jump to content

Files

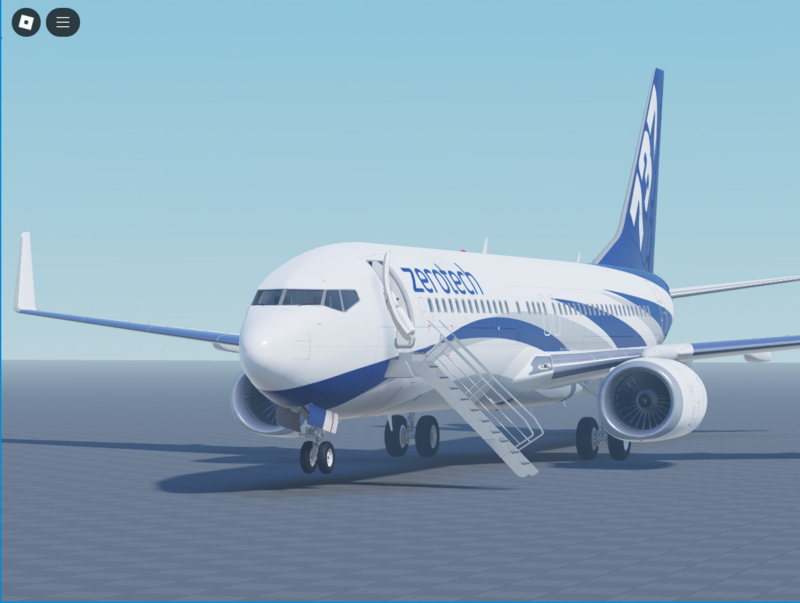
I NEED UV MAPS FOR ZEROTECH 737 !

Featured Replies

  • Founder

Heres some guidance on how to get hr UV map via blender.

Create Your Own UV Maps

To create your own UV maps, you’ll need a 3D modeling program like Blender (free) or 3ds Max (paid). Here’s a step-by-step guide using Blender:

1. Download and Install Blender

• Go to the site listed below.

blender.org
No image preview

blender.org - Home of the Blender project - Free and Open...

The Freedom to Create

^ download the latest version.

2. Import the Model

• Ensure you have the Zerotech 737 model in a compatible file format like .fbx, .obj, or .blend.

• In Blender, go to File > Import and select the appropriate file format to load your model.

3. Enter UV Editing Mode

• Once the model is loaded:

• Select the object.

• Switch to UV Editing mode by clicking on the UV Editing workspace tab at the top of the Blender interface.

4. Unwrap the Model

• Select the faces of the model you want to map.

• Press Tab to go into Edit Mode.

• Use A to select all the faces of the model.

• Unwrap the model:

• Press U and select an unwrap method. Common methods are:

• Smart UV Project: Good for beginners as it automatically generates UV maps.

• Unwrap: Requires marking seams to control the UV layout better.

• Project from View: Flattens the model based on the current camera view.

• A UV map will appear in the left-hand window showing how the 3D model is laid out in 2D space.

5. Adjust the UV Map

• Use the tools in Blender to adjust the UV islands to optimize the layout for texturing.

• Scale, move, or rotate islands to maximize texture space and minimize stretching.

6. Export the UV Map

• Once satisfied with the UV layout:

• Go to UV > Export UV Layout in the UV Editing window.

• Save the layout as an image file (e.g., .png) for use in your texturing software.

7. Apply Textures

• Use the exported UV map to create custom textures in an image editing program like Photoshop or GIMP.

• Apply these textures back in Blender or in Roblox Studio to see the final result.

8. Import to Roblox

• Export the textured model from Blender in a compatible format (like .fbx or .obj).

• Import it into Roblox Studio, ensuring that the textures are applied correctly.

Founder of DarkBlox 🛡️
MARK MY ANSWER AS “HELPFUL” 👍
#ASSETWORLDFOREVER 🚩

  • 1 month later...

Join the conversation

You can post now and register later. If you have an account, sign in now to post with your account.
Note: Your post will require moderator approval before it will be visible.

Guest
Unfortunately, your content contains terms that we do not allow. Please edit your content to remove the highlighted words below.
Reply to this topic...